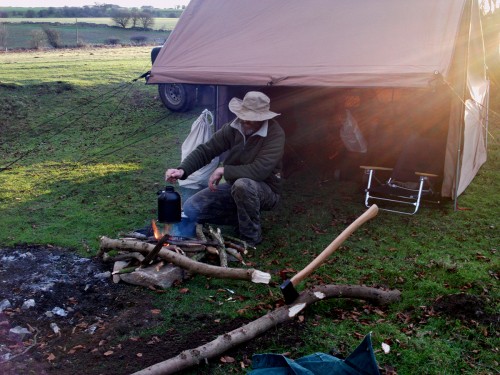
So the December weather seemed to be clearing after weeks of rain and after ruling out the river Wye with water levels dangerously high we decided to head for the hills this time for a winter Get Out an Stay Out trip and to test out some new pieces of gear.
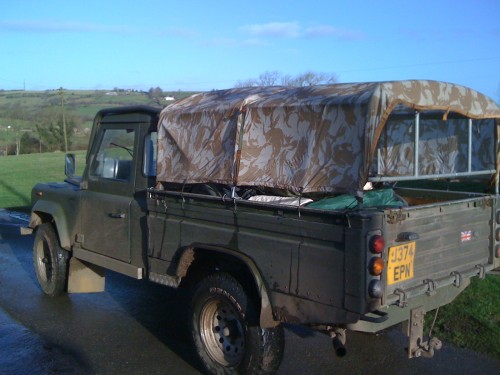
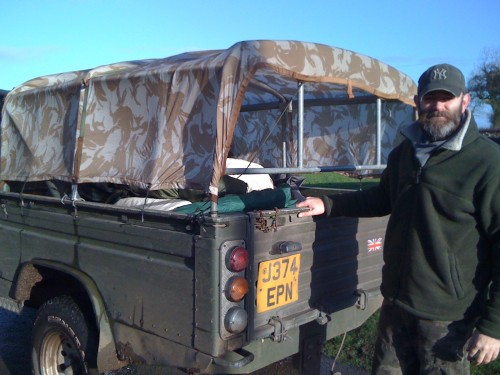
Loaded in to the back of the Landrover was; top of the list the new full size campfire tent from greenoutdoors.co.uk; a new Australian “Burke & Wills” swag (to go with our old razorback one), a new dutch oven cooking pot freshly seasoned, and last but definitely not least a new black STORM kettle from the Eydon Kettle Company.
That was just the new stuff we hadn’t tried before – add to that the old swag, thermarest mats, food and drink, clothing ( lots of it it was very cold especially with the fierce windchill!) and assorted bushcraft saws, knives, firesteels torches and so on, the back of even this high capacity pickup was looking pretty full. But hey that’s the beauty of off road camping trips: bring whatever you like! So we skipped the ‘get tuff with your stuff’ stage and just threw it all in the back.
The weather had been pretty awful over night and TheRanger’D drove right through the tail end of the storm crossing the country to Somerset for our trip. but by the time he arrived it had cleared Out West and although bitterly cold in the wind the sun was there at last, however weakly!
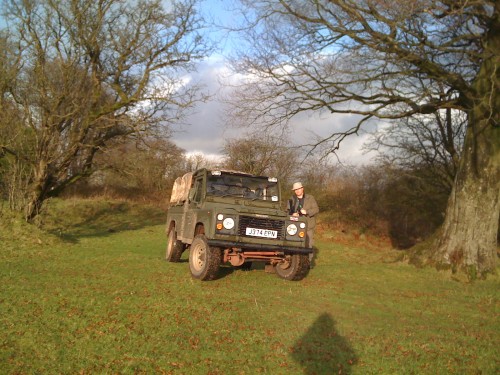
So we fired up the tractor-like diesel Landrover 110 and set off for the mendip hills.
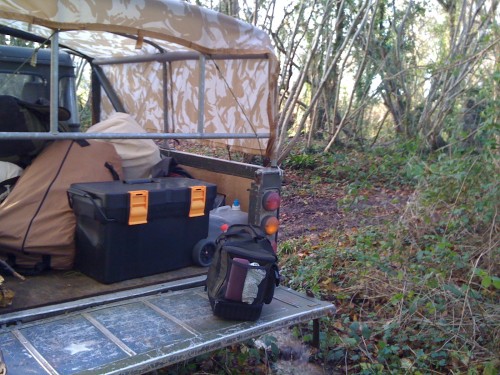
After driving some beautiful off road tracks, thick with mud under the all-terrain tyres after all the recent rain, we stopped in a small grove of trees for a brew. A first chance to use the gorgeous new Eydon STORM kettle, and also to gather some decent kindling and firewood for the nights camp. As usual, and not yet fully tuned in to the pace of the bush I rushed the first attempt without decent kindling in the kettle and had to restart – will I ever learn! But The Ranger’ picked some perfect kindling from standing dead wood and at the second attempt the new kettle was soon firing away, and we sat down next to a small rushing brook, the water swelled and clouded by the recent rains.
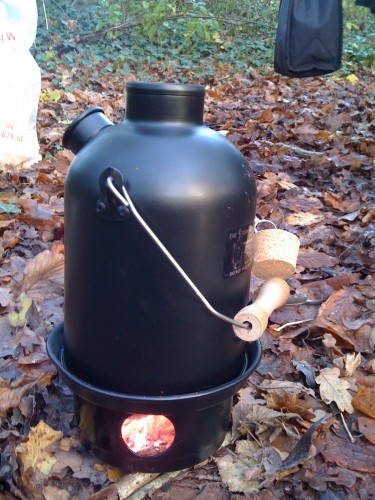
The black ‘Popular’ STORM kettle is truly a beauty. Whether it’s the shape or the new matt black coating don’t know but somehow it feels more solid and trustworthy when you’re Out There than the usual shiny aluminum or stainless steel ones: they get blackened with use anyway: so it’s as if this one is already ready to go…
So first and much needed hot cuppa downed we gathered some more wood and loaded up the back of the Landy, leaving behind this great spot in the woods and heading off into the windy weather again.
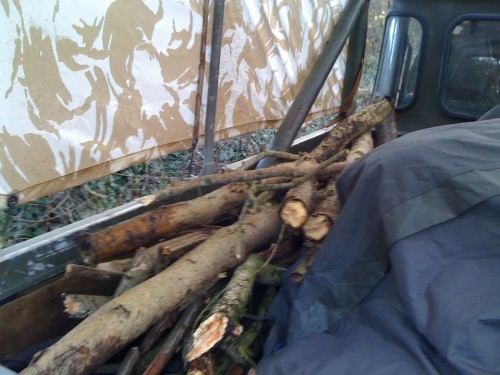
A check of the accuweather.com iPhone app showed some storm warnings ahead, so we decided to cut short some of the off roading plans and concentrate on getting enough firewood and getting to the campsite before dark. This turned out to be a wise move as it happened…
The next ‘greenlane’ (an off road track with public motor access classed as “Byway”) was a stiff climb up to the limestone ridge of the Mendip hills and the Landy grinded it’s way steadily up over gravel washed out by the recent rains.
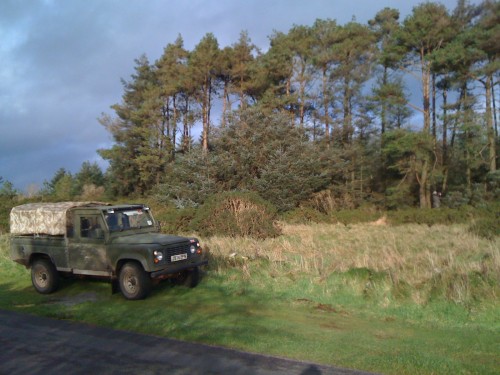
So back on the tarmac again we wove our way through a lot of surface water along narrow lanes across the top of the Mendip plateau towards the campsite on the southern edge of the hills, where they drop spectacularly down to the flat ‘Somerset Levels’ with Exmoor and the Quantocks the next ridges in the distance. We stopped at Stock Hill woods, an area of pine trees and heath that looks like a piece of Scotland in Somerset, and went into the forest to gather some pine tinder from fallen tress – you can’t beat thin pine twigs and pine cones for firestarting.
We’d had more rain along the route and the sky was thick with fast moving grey clouds, so when we arrived at the campsite (near the magical medieval village of Priddy) in a patch of sunshine we knew we had to take the opportunity to get set up before the next band of rain came through.
Personally I was keen to get another cup of storm kettle tea going first and maybe some hot food, but reason prevailed and we got to work: first job to unroll the Swags, my old ‘Rzorback and the new “Waratah” genuine Australian swag from The Aussie Shop – a really nice piece of solid gear as you can see here:
The swag is made of thick canvas, with a single hoop at the head end made of aero-grade aluminium, line fixings to raise the peak of the canvas up if necessary, a zipped mozzie net, canvas flap cover and some simple but very tough features like big zips, a canvas end “window” which rolls up, a thick PVC waterproof base and a built in high density foam mattress which is extremely comfortable. I know a bit about swags and can say the build quality of this one is top notch – this is truly a piece of gear that will last at least one lifetime! The top flap can be left open in good weather, giving a view of the night sky, one of the key experiences of swag camping. As we were in December we used the swags as bedrolls inside the open tent, giving effectively a groundsheet, mattress and comfort away from drafts, with sleeping bags fitting snugly inside. It was only a couple of degrees above that night, and below freezing in the windchill but the swags provided so much shelter (they keep a lot of your body heat close to you rather than it escaping into the air) we were extremly warm inside – no socks required even which is a true test!
The ‘Campfire Tent’
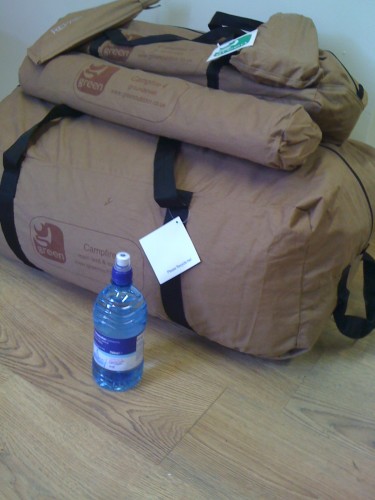
Swags and bedrolls ready the next job was the big one: putting up our main shelter, the new full size Campfire Tent from greenoutdoor.co.uk. The tent comes in a large single main bag made from the same waterproofed environmentally friendly ‘hemp-cotton’ canvas as the tent itself, and inside that the main tent, the additional (and optional) wings and front awning, inner tent and groundheet, a bag of poles, pegs and a simple repair kit. It’s based on the traditional “Baker Tent” designs of the 18th Century fur traders and voyageurs, and more recently popularised by Bill Mason and lately by Ray Mears himself: Here’s Bill Mason’s original tent on one of his canoe expeditions:
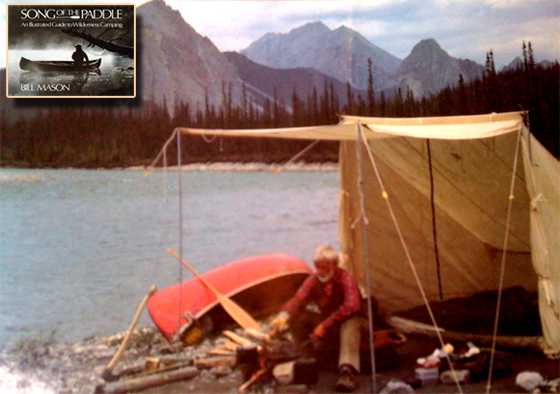
We were planning to use only the cut down version on this trip, as the classic ‘Bill Mason’ campfire tent format, even though with this modular design there’s a lot more this tent can do. This is very important because it means you only need carry and setup the parts appropriate to your trip based on the weather conditions and the amount of weight you want to carry depending on how you are traveling. So for canoe travel in good weather the pack can be really quite light at 10kg in it’s basic form (but still a full camp-fire tent in itself!) or for car or 4×4 travel you can take the whole lot, inner tent, groundsheet, wings and awnings and extra poles at the full weight of 27 kg: one nice thing is that even at that weight the full modular tent fits in the single main bag.
Here’s the tent straight out of the box – really nicely packaged actually, in the same soft brown natural color the tent is made in.
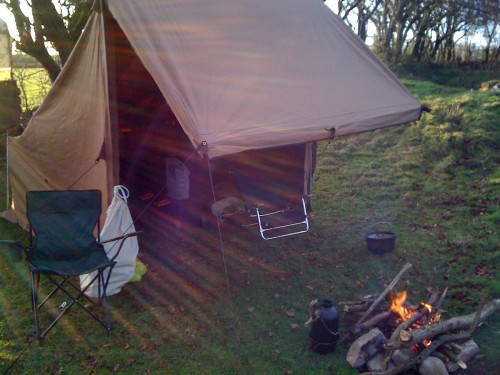
So here’s the campfire tent in it’s minimal configuration, no wings, awning or groundsheet, and just 3 poles: the ridge pole and 2 verticals:
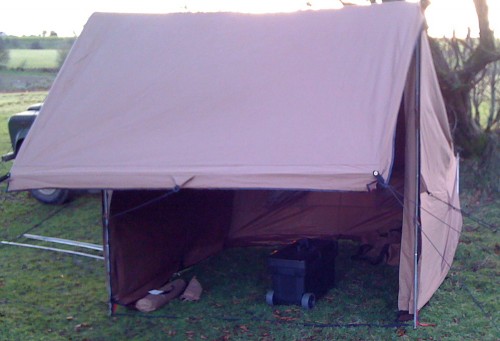
For a view with the wings attached, supporting poles and awning set higher, which creates a much bigger internal space see the “Backyard Test” video.
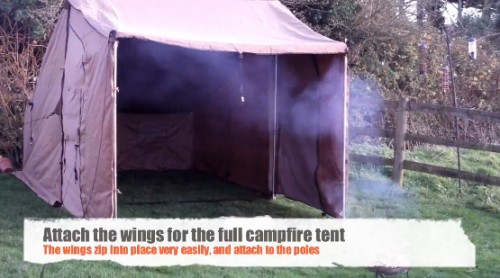
On this trip with Landrover lugging capacity of three tonnes(!) we bought the whole thing even though we only planned use the main outer shell, not the inner tent or even the groundsheet sleeping as we were in australian swags with thick PVC bases. The tent is extremely well made and beautifully finished with lots of nice touches such as the roll up side and rear windows, with excellent fasteners and velcro and zip fittings for the awnings that worked very well and were easy to fit very quickly even with very numb hands from the windchill we were experiencing.
So we set about getting to know this tent in real world and actually quite rough conditions, the tent having already been given the ‘backyard test’ previously – see here.
The wind was buffesting the canvas as we set it up, but we kept our heads down and ignored the wind-chilled fingers and got the tent up in no time at all – it really is a very simple design to erect, just peg out at the back and insert the ridge pole, raise the front and get pegging! In the weather we had we made use of all the many fastening points and guy ropes. It’s a good job because as you will see in the video the already strong winds turned into gale force during the night!
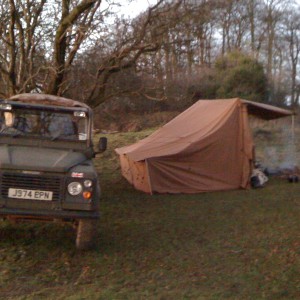
So tent up and facing onto the fire spot, the next job was to get a fire going asap. Immediately we had the tent up we had shelter from the windchill and the camp was starting to take shape. Gear was loaded inside the open tent and we set about getting the fire started, keen to get the real benefit of the open “campfire-tent” concept.
With the pines twigs gathered and some tumble-dryer fluff, a single strike from my fire steel was enough to get the fire started, aided by the stiff breeze.
Fire going, the STORM kettle was placed stright on the flames and hot tea provided in no time atall.
So we’re were all set up. The wind picked up steadily driving down the windchill temperatures – and now’s the real revelation: sitting under the awning in front of an even moderately-sized campfire, the side wings attached on the campfire tent, the effect was incredible – the campfire tent concept really proved its worth and we could have sat out in T-shirts even in this otherwise freezing cold weather. The heat from the fire bounced around the inside of the campfire tent, but still left us “outdoors” fully and open to our surroundings. The new Dutch oven bubbled away with a vegetarian stew prepared by the fire, and boy was that a welcome meal once it was ready. Hot food outside in cold weather is always the best food you’ll ever taste – the best restaurants in the World can’t touch that.
As the evening drew in early, the weather became even worse and suddenly at dusk the real storm kicked in – and it didn’t let up till morning! We were concerned in a new style of tent, up on a hillside facing the Atlantic coast of Somerset with a South-Westerly storm raging as to how this tent would stand up. The canvas was buffeted strongly all night over our heads, but in fact it withstood it completely without even any need to get up in the night and re-jig any part of the fixings. This is probably as extreme weather as I would plan to be out in aside from a high mountain camp, and knowing the tent can withstand this without a problem means it really is an all-purpose, year-round tent, not just for summer camps in good weather at a calm lakeside pitch. But with it’s open nature we’re going to use this year round – you can see why Ray Mears rates this kind of camping so highly.
So here’s the video of the camp experience (try it full screen in HD!) – We had a great trip despite the weather and plan more winter trips using this tent as it the “campfire tent” model works so well in winter, with the fire outfront, glowing away.
For more information on this tent see the Green Outdoor website or read our “Baker Tent Hunt” series.
[Update: this tent is currently on sale at £100 off, making it £499 and excellent value – see greenoutdoor.co.uk ]

